I have been creating A LOT lately and have lagged on posting.
I decided to share one of my start to finish projects that I just completed.
This is a logo design that I created for a local boutique that I painted on a large vintage door from the actual store that the boutique is located in.
First I started with a piece of paper. I sketched, doodled and researched ideas.
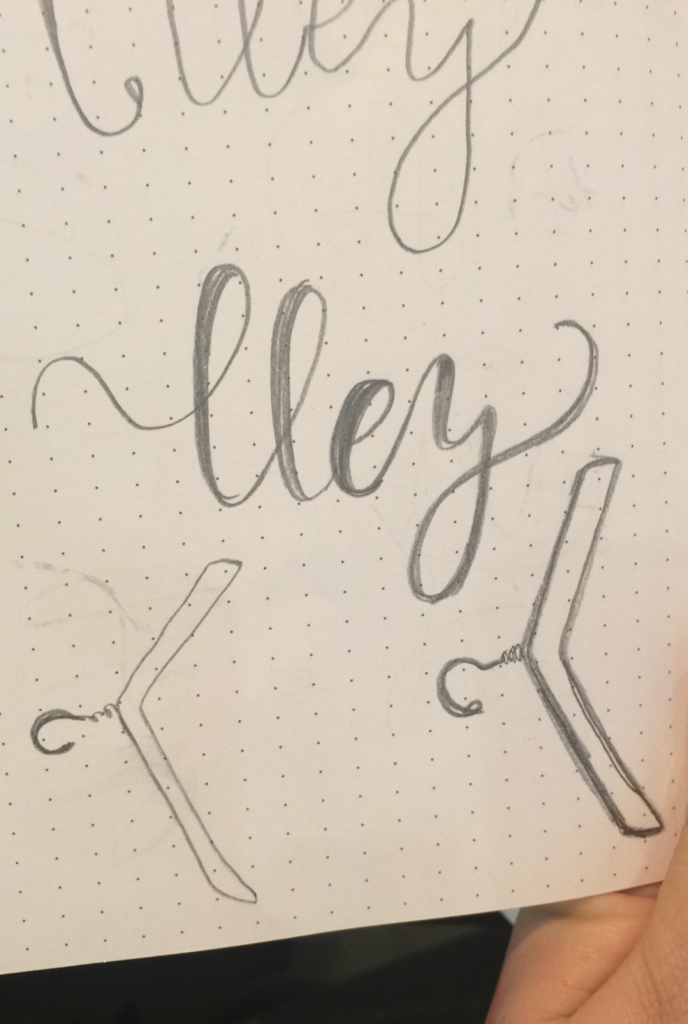
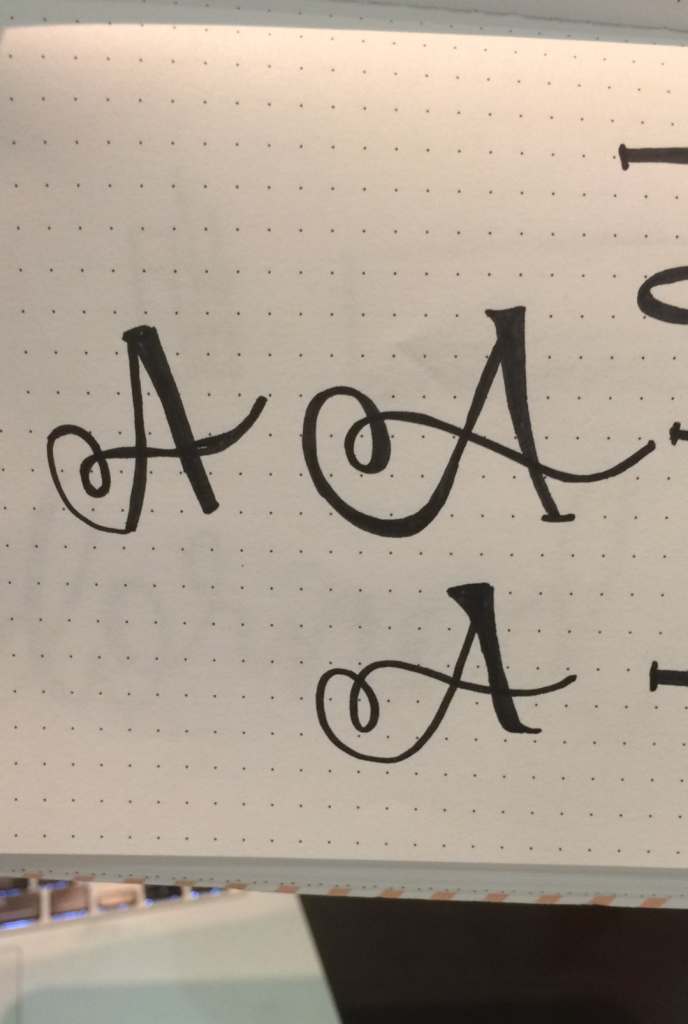
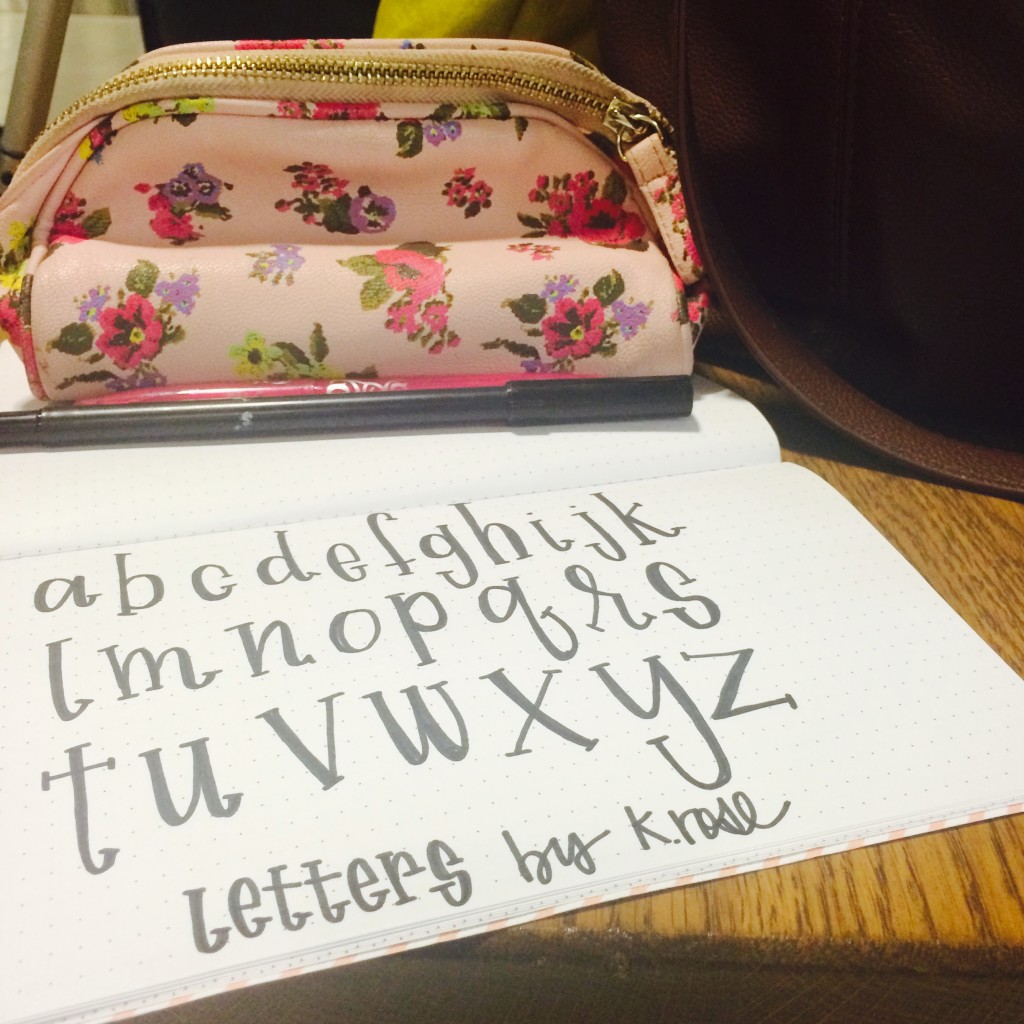
Once I decided on the perfect letter combination I turned the pencil sketch into a blank ink sketch as you can see below. I created a blank ink sketch because then when I scan it into my computer it is easier with a higher contrast.
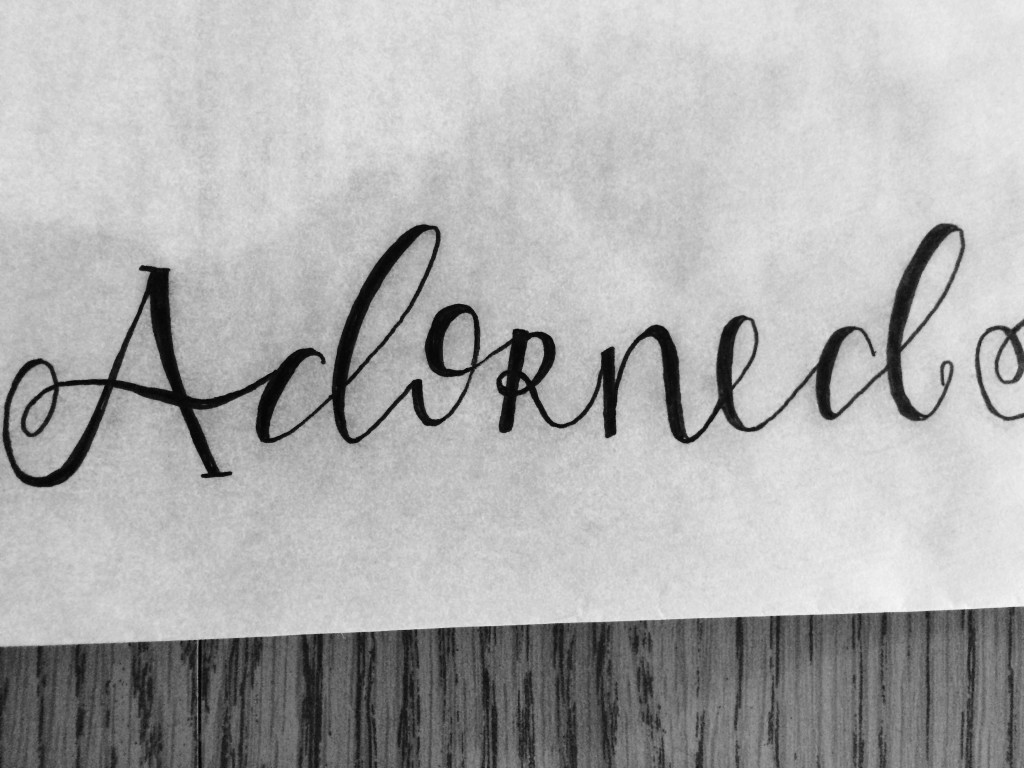
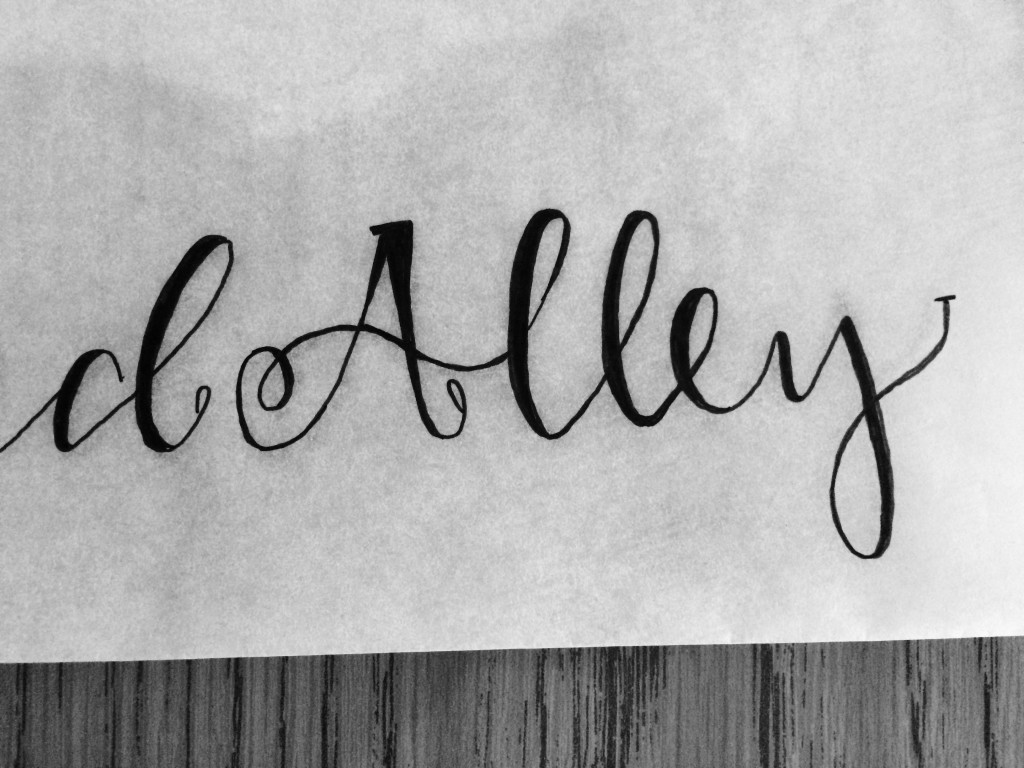
Next step: Scanning into the computer and digitalizing my drawing.
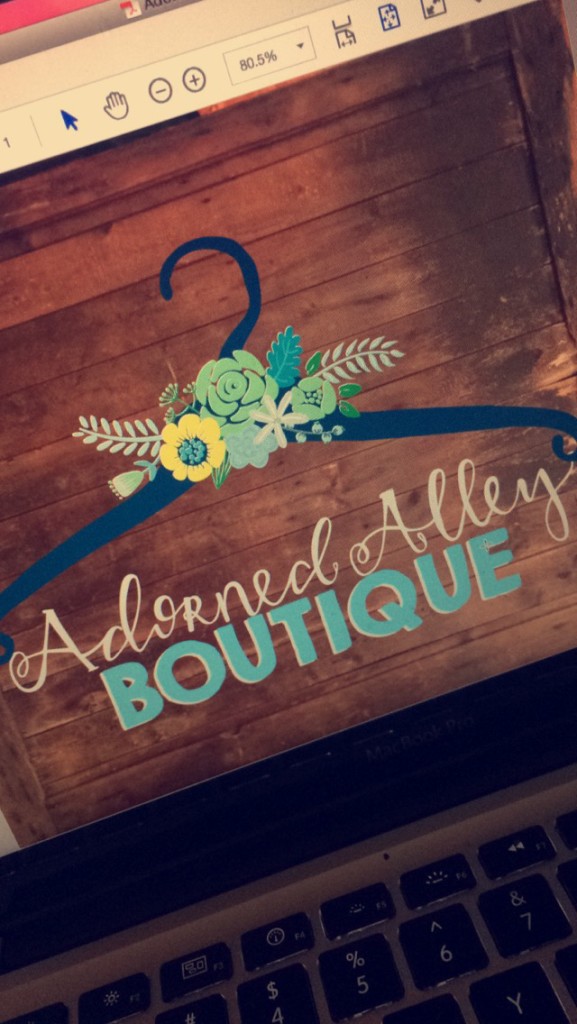
 This photo is a big grainy because I took a picture of the design on my laptop screen. I use the pen tool in Adobe Illustrator in order to create a vector logo design.
The next step is adding colors and creating a mock up of the design as you can see below.
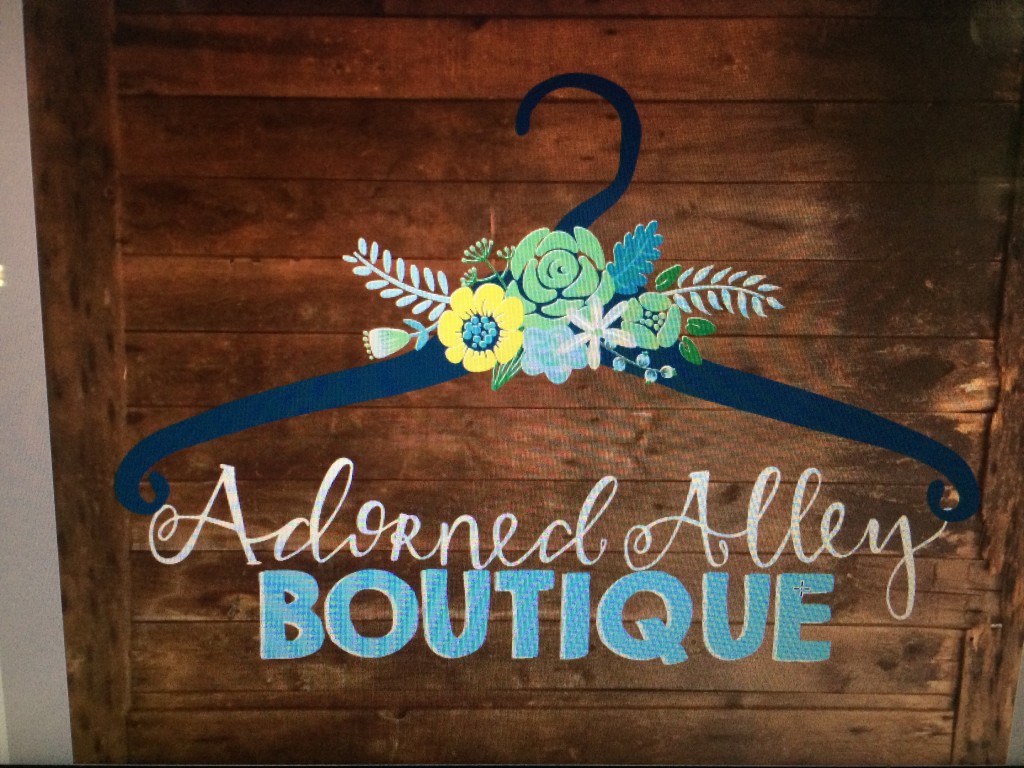
Once these images were approved by the client I move to the actual art piece.
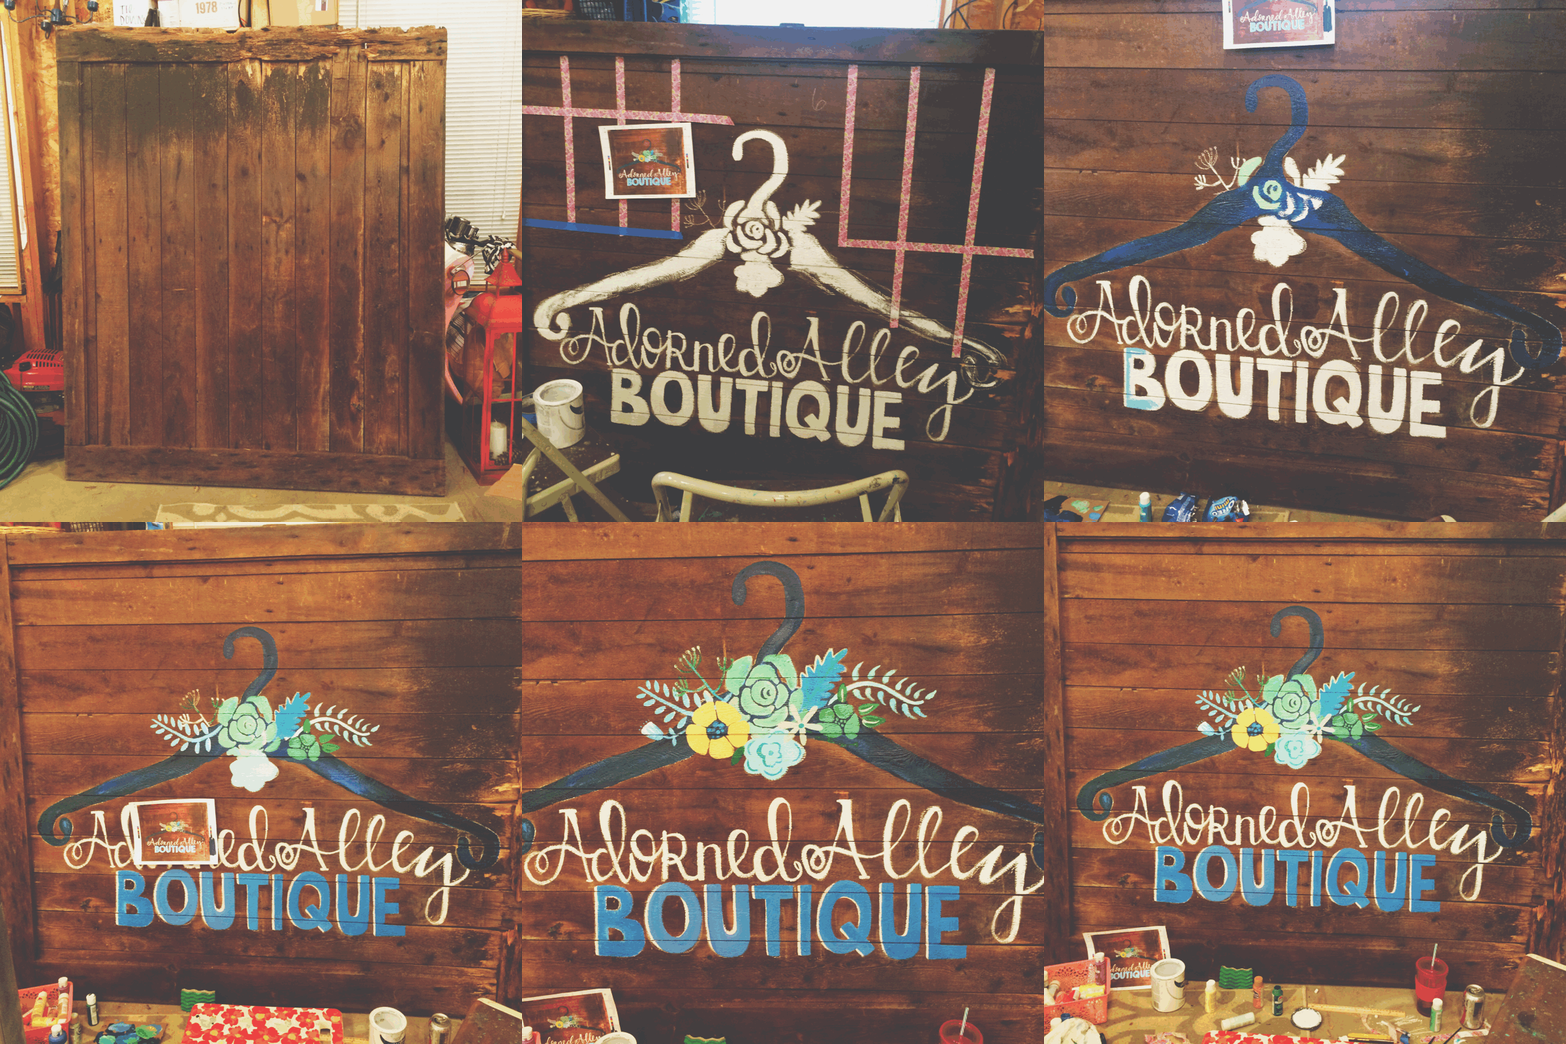
This large vintage door was awesome to paint on! I did a grid system which basically means I drew a grid on a print out of the mock up. I then created the same grid but a larger scale on the wood door with scotch painters tape. I then drew the design in chalk. I used chalk because if I needed to make changes I could just wash it off. Pencil didn’t erase very well on this type of vintage door.
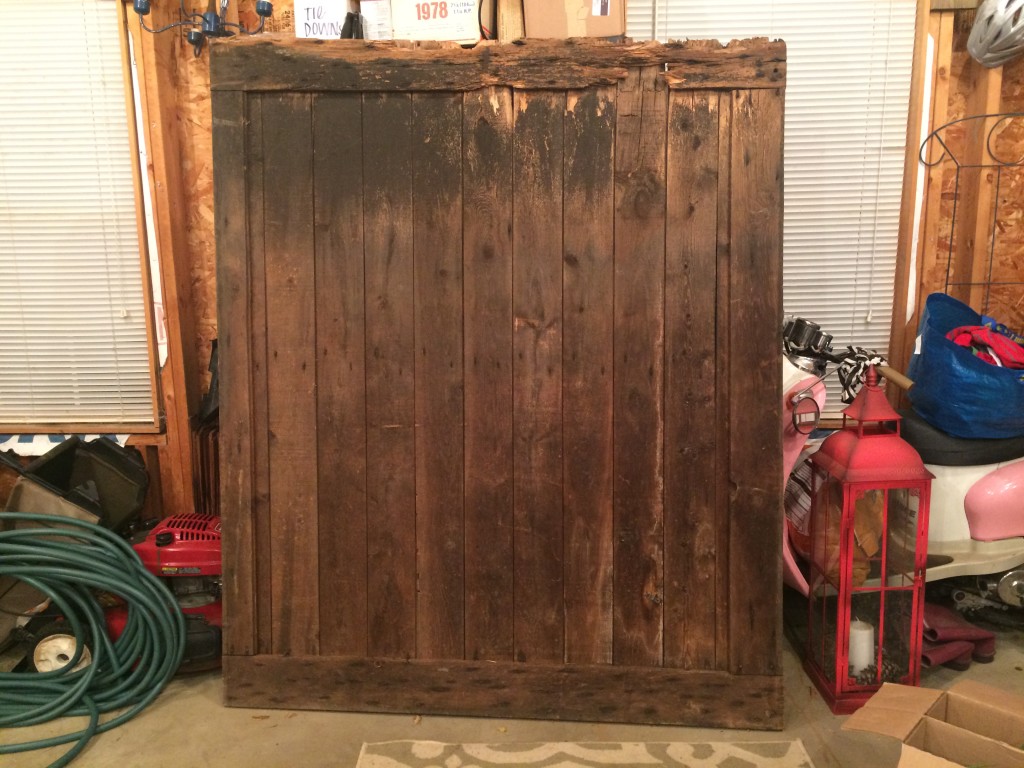
I then painted the entire logo design with white paint for a base coat.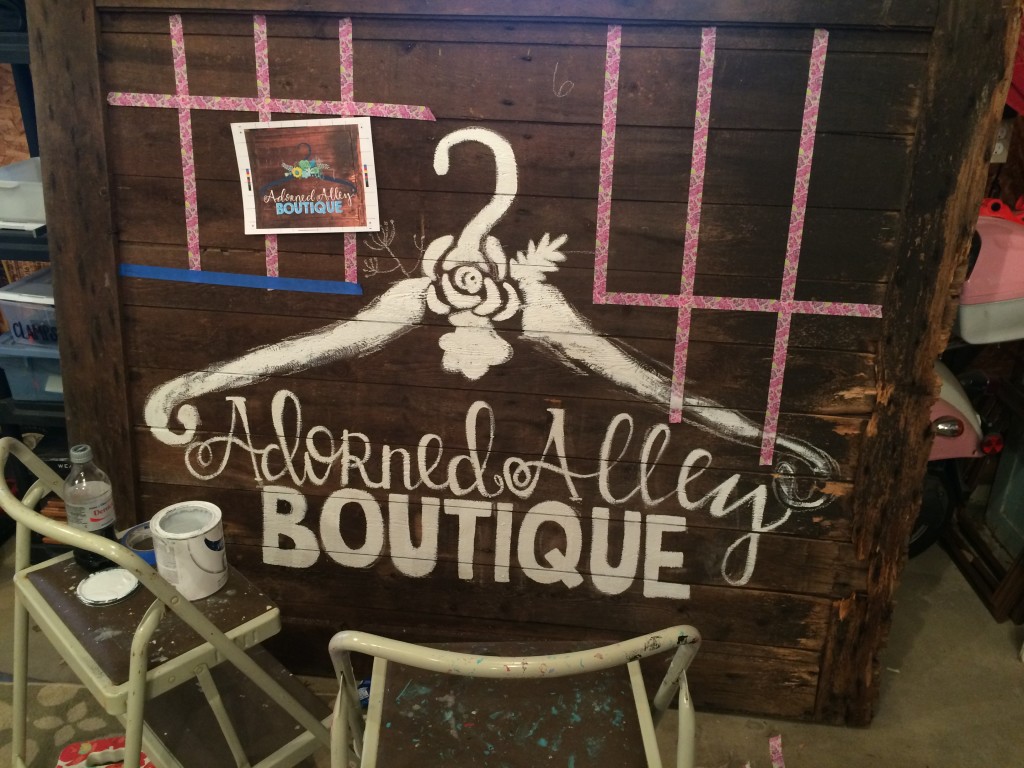
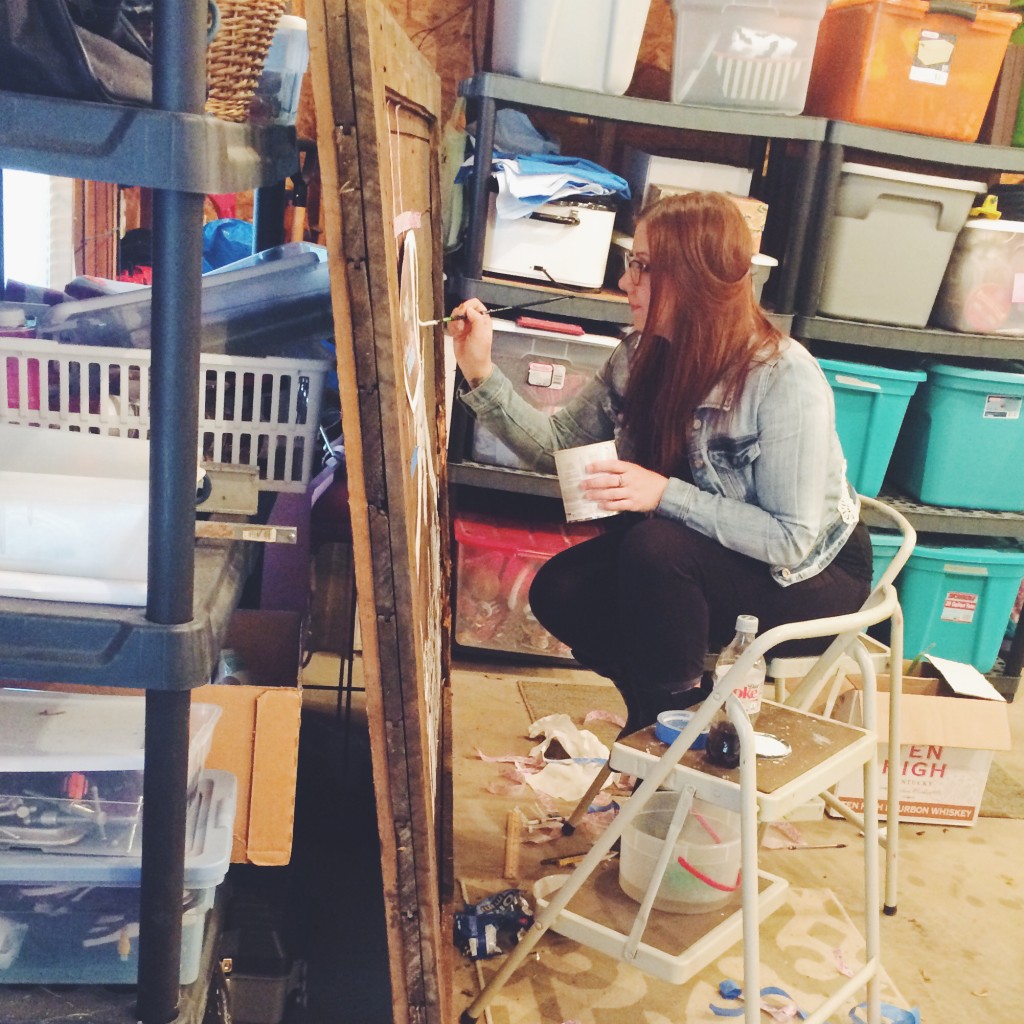
Then I added color! 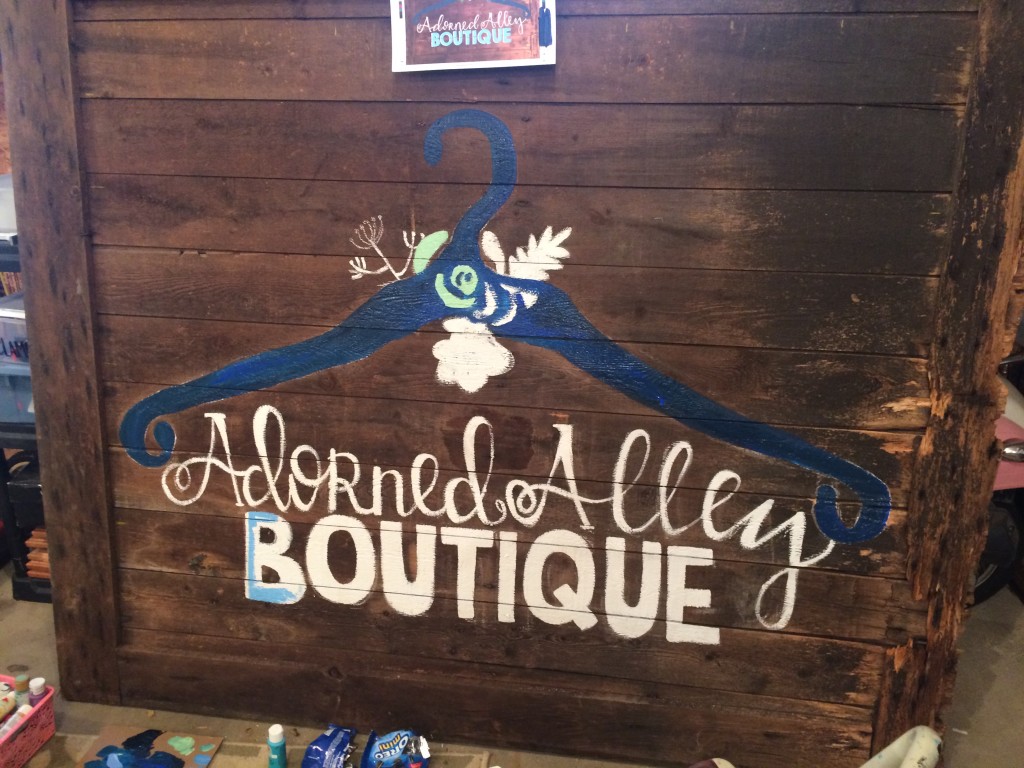
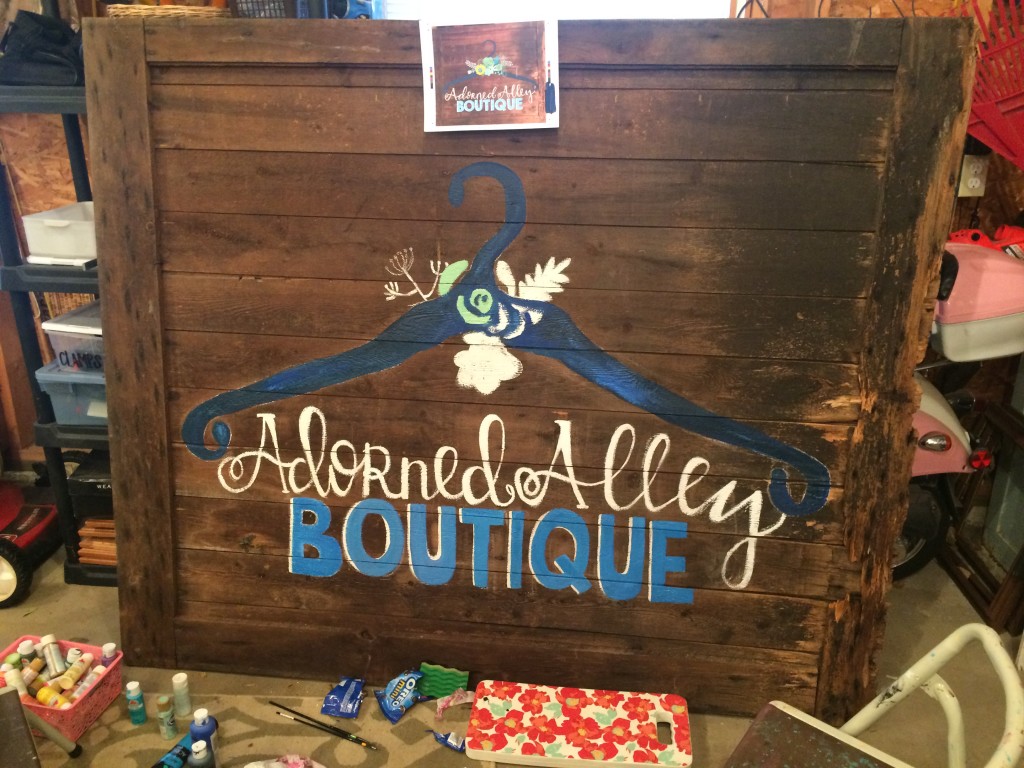
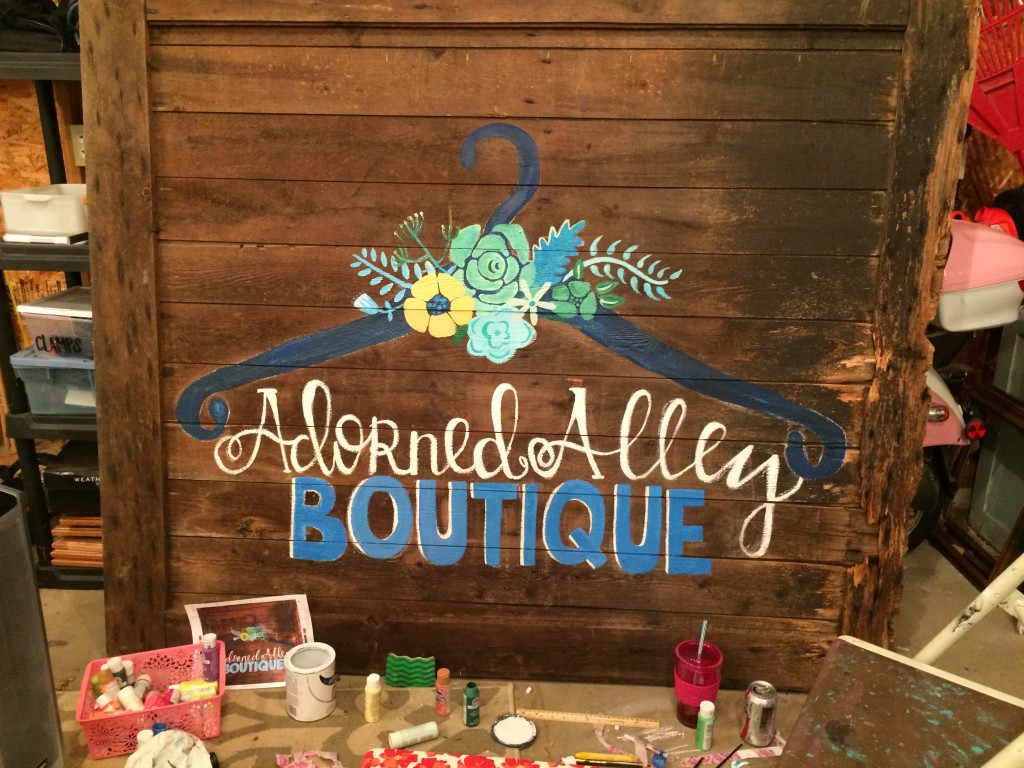
Here is a little video I created to show a slow-mo of my process. Enjoy!
What is your creative process? I would love to hear.
xo
k. rose